For guests · 2 min
How your guests add their photos
No app and no account: your guests scan the QR code, choose their photos and videos and send them in original quality.
Updated October 7, 2026
They scan the QR code
With their phone's camera, your guests scan the QR code on the poster: the gallery opens in their browser. No app to install, no account to create.
They choose their photos and videos
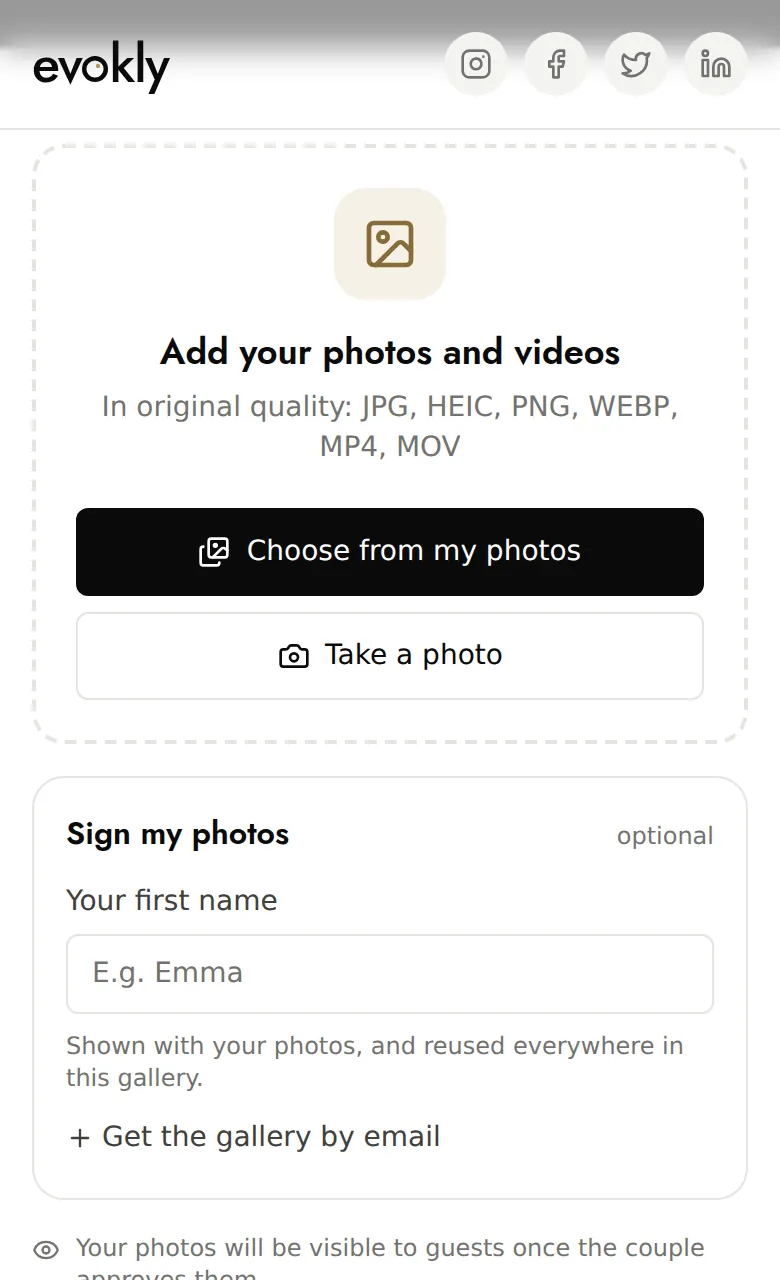
In the Add tab (Upload on a computer), they tap Choose from my photos, or Take a photo on a phone. They can sign their photos with their first name and choose a moment: this is optional.
They check, then send
The Check before sending screen sums up their selection: nothing is sent until they tap Send. A thank-you screen confirms that it has been sent.
Formats and sizes
- Photos: JPG, HEIC, PNG, GIF and WEBP, up to 50 MB each. iPhone HEIC photos are converted automatically.
- Videos: MP4 and MOV (as well as AVI, WEBM and MPEG), up to 500 MB each.
- Everything arrives in original quality. An identical photo that has already been sent is simply skipped.
Good to know
- If you approve photos before they are published, your guests are told before they send: see approve photos before they are published.
- On the free plan, the gallery shows 100 photos and videos. Beyond that, uploads are kept (up to 500) but stay hidden; they appear as soon as you upgrade to Event.
- To close uploads: Settings, Features, Guest uploads.